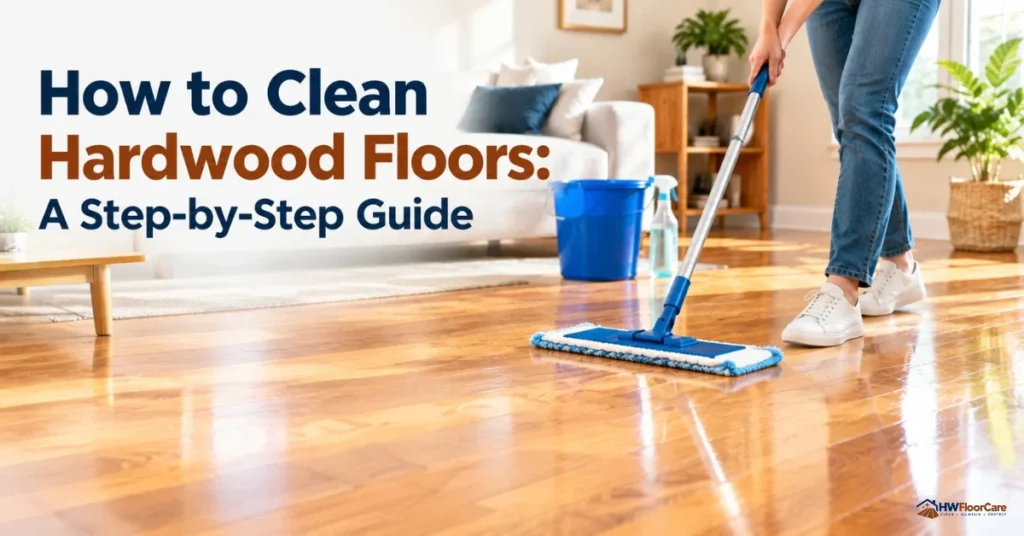
To clean hardwood floors without damage, dust mop or sweep daily, vacuum weekly with the beater bar off, and wipe spills immediately. Once a month, lightly mist a cleaner made for your floor’s finish onto a microfiber pad, wipe with the grain, and dry right away. Never use a wet mop or steam mop, because excess moisture swells boards and breaks down the finish.
Quick Overview:
- To clean hardwood floors, dry-clean daily, vacuum weekly on the bare-floor setting, and use a cleaner made for your floor’s finish once a month.
- The National Wood Flooring Association (NWFA) advises against wet mops and steam mops because they damage both the finish and the wood over time.
- Only about one in four homeowners knows the correct way to clean wood floors, based on NWFA consumer research (2019).
- The full routine takes 30-45 minutes for a monthly deep clean and 5-10 minutes for daily upkeep.
- Wipe spills right away with a dry or slightly damp cloth.
Know Your Floor's Finish Before You Clean
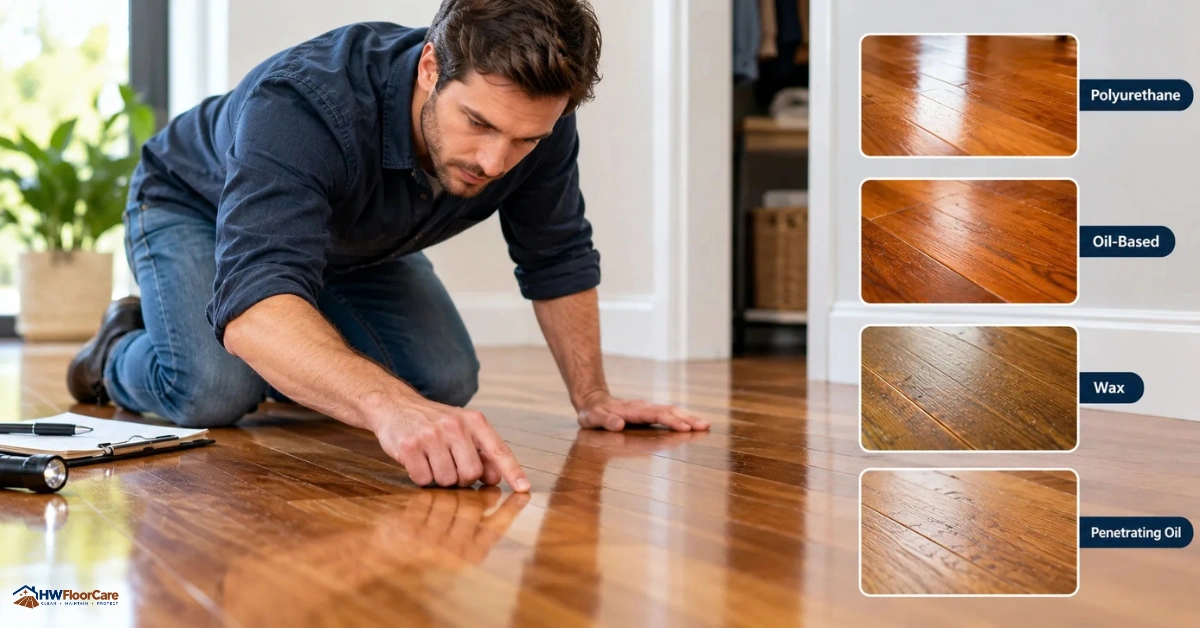
Before you buy any product, find out what sits on top of your boards, because the right care depends on the finish more than the wood species. Most floors installed in recent decades carry a surface finish such as water-based or oil-based polyurethane, which forms a protective film over the wood. Older floors may be sealed with wax, and some are treated with penetrating oil that soaks in rather than sitting on top. If you are unsure, ask your installer or the flooring manufacturer, or have a flooring professional check a hidden spot such as the inside of a closet. Guessing is how homeowners end up with residue, cloudy patches, or a floor that cannot be recoated.
What You Need Before You Start
- A soft microfiber dust mop or a broom with soft bristles.
- A vacuum with a bare-floor setting (beater bar off).
- A spray bottle or ready-to-use cleaner made for hardwood and matched to your floor’s finish.
- Two clean microfiber cloths or a flat microfiber mop pad.
- Felt pads for furniture legs and throw rugs for entryways.
Check your floor’s finish first. Most modern floors have a surface seal like polyurethane. Older floors may have wax or oil, which require different products. If you are unsure, ask your installer or the floor’s manufacturer.
Step-by-Step Guide to Cleaning Your Hardwood Floor
Step 1: Sweep or Dust Mop Every Day
Sweep or dust mop daily to remove the grit that scratches the finish. The NWFA recommends daily sweeping or dry dust mopping because debris dragged across the surface wears down the finish over time.
Use a soft microfiber head. Push it with the grain of the boards. Pay extra attention to doorways, kitchens, and homes with shedding pets.
Step 2: Vacuum Once a Week on the Bare-Floor Setting
Vacuum weekly with the bare-floor setting on and the beater bar off. A spinning brush can scuff the surface, while the bare-floor setting lifts debris straight up instead of dragging it along the boards.
Run the vacuum with the grain where you can. Use the soft brush attachment along baseboards and between boards, where dust settles.
Step 3: Wipe Up Spills Immediately
Wipe spills the moment they happen using a dry or slightly damp cloth, since liquid that soaks in can cause staining, swelling, and warping.
Blot first, then wipe. Dry the spot afterward so no moisture sits in the seams between boards. This matters most near sinks, dishwashers, and pet water bowls.
Step 4: Choose a Cleaner Made for Your Floor's Finish
Pick a cleaner designed for hardwood and compatible with your specific finish. The NWFA states that using the wrong product can damage the finish, harm the wood, and even prevent the floor from being recoated later.
Avoid vinyl or tile cleaners, which the NWFA says do not belong on wood floors. Skip homemade recipes as well. If you are unsure which product fits, ask the installer or a flooring professional before experimenting.
Step 5: Deep Clean Once a Month
A monthly deep clean means lightly applying a wood floor cleaner and wiping it up right away.
Follow these steps:
- Dry mop or vacuum the whole floor first.
- Mist the cleaner onto a microfiber pad, or lightly onto a small section of floor. Never pour or soak.
- Wipe in the direction of the grain, working in sections of about 4-6 feet.
- Go over the section with a dry microfiber cloth so no liquid or film remains.
- Let the floor air dry fully before replacing rugs and furniture.
Step 6: Protect the Floor Between Cleanings
Protection reduces how often you need to clean. Place throw rugs at doorways to catch tracked-in grit, and add felt pads under every chair and table leg.
When moving heavy furniture, lift it instead of sliding it.
Step 7: Schedule a Maintenance Coat Every 3 to 5 Years
A maintenance coat restores a dull finish without sanding down to bare wood. A professional cleans the existing finish, lightly sands it, and applies a fresh coat of finish. Use a cleaner that keeps this option open. The wrong product can leave residue that stops new finish from bonding.
Why You Should Not Wet-Mop or Steam-Mop Hardwood Floors
Wet mops and steam mops add too much moisture, which seeps between boards and breaks down the finish over time. The USDA Forest Service’s Forest Products Laboratory explains that wood takes on and loses moisture with its surroundings, swelling when moisture content rises and shrinking when it falls.
Repeated soaking can therefore lead to cupping, gaps, and splitting. A damp microfiber pad with a light mist of cleaner gives you the cleaning power without the water. Treat “damp” as barely moist, never wet.
Common Problems and How to Fix Them
Summary
- Dry-clean daily with a soft microfiber dust mop or broom.
- Vacuum weekly using the bare-floor setting.
- Wipe spills immediately and keep moisture to a minimum.
- Use a hardwood cleaner matched to your finish once a month.
- Skip wet mops, steam mops, and DIY recipes.
- Schedule a professional maintenance coat every 3 to 5 years.