How to Prevent Scratches on Hardwood Floors From Dogs
To stop dogs from scratching hardwood floors, trim your dog’s nails about once a month so they do not touch the floor when your dog stands, keep the floor’s protective coating in good shape, and put rugs or runners on the paths your dog uses most. Sweeping up dirt every few days, using nail caps for tricky dogs, and wiping paws at the door help too.
Here are the six steps in short, and each one is explained below:
- Trim your dog’s nails every month.
- Put rugs and runners where your dog runs.
- Keep dirt and grit off the floor.
- Take care of the floor’s finish.
- Use nail caps or paw covers if needed.
- Burn off energy and block off risky spaces.
Why Dog Scratches Happen on Hardwood Floors
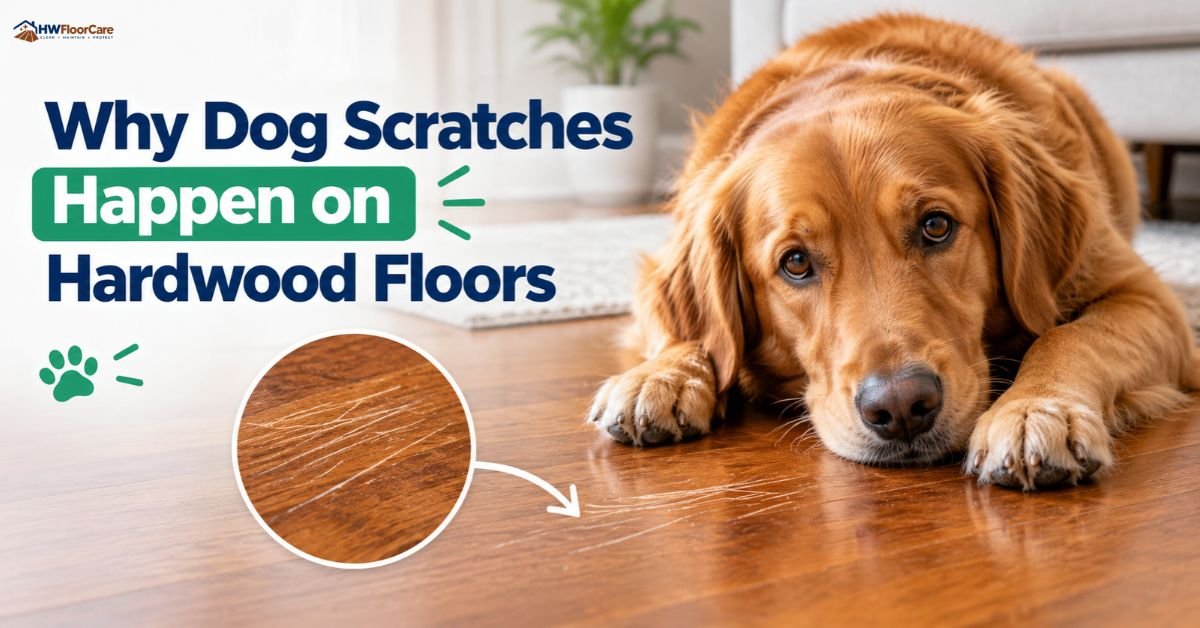
Dog nails work like tiny chisels. When a nail is long, sharp or chipped, every step, sprint and sudden stop drags a hard point across the floor’s protective coating, which is called the finish. Many everyday scratches are in that finish and not in the wood itself, so a worn finish scratches much faster than a fresh one.
Four things decide how much damage your floor takes:
- Nail length: long or sharp nails dig in with every step.
- Floor finish: a worn or thin coating shows scratches quickly.
- Dirt and grit: sand and small stones on paws act like sandpaper.
- Dog behavior: a heavy dog that sprints to the door puts more pressure on each nail than a dog that walks.
The steps below follow that order, starting with the change that makes the biggest difference.
Step 1: Keep Your Dog's Nails Trimmed
Nail length is the biggest thing you can control. VCA Animal Hospitals says most dogs need a trim about once a month, so a repeating calendar reminder protects your floor better than most products you can buy. The easy test, which Kinship also describes, is to have your dog stand on a hard, flat floor: the nails should not touch the ground, and you should not hear clicking when your dog walks across the room. If you hear tapping, the nails are already long enough to mark the finish.
Follow these tips for safe trims:
- Trim a small amount at a time, because each nail has a quick, which is a bundle of nerves and blood vessels that is hard to see in dark nails.
- Trim often, since regular trims make the quick move back so you can keep nails shorter over time.
- Do not forget the dewclaws, the small inner nails, which rarely touch the ground and often grow too long.
- Try a nail grinder if clippers make your dog nervous, or ask a groomer or vet to do the trim, as the American Kennel Club also suggests.
Step 2: Put Rugs and Runners Where Your Dog Runs
Rugs do not fix the cause of scratches, but they take the damage in the places where it happens most.
Put runners in these spots:
- Hallways where your dog runs back and forth
- In front of the door where your dog greets visitors
- Beside windows where your dog barks at people walking by
- Around food and water bowls where your dog paces
- Under a crate, using a mat, padding or a folded blanket (see Diggs)
Check the rug before you buy it. A rug that slides can scuff the floor and make your dog slip, so choose a non-slip, rubberized backing, and avoid latex backing, which Flooring Clarity says can stain or harm some floor finishes. Rugs work best as one layer of a plan, so keep trimming nails even if your busiest paths are covered.
Step 3: Keep Grit Off the Floor
Grit does a lot of quiet damage, and it is the easiest problem to remove. Sand, small stones and dried mud on paws grind into the finish under every step, which is why Mullican Flooring advises regular vacuuming.
This simple routine keeps most of it off the floor:
- Put a doormat outside and another inside so paws and shoes lose dirt before they reach the wood.
- Wipe your dog’s paws with a damp towel after muddy or sandy walks, and keep the towel by the door. In winter, our guide to caring for hardwood floors in winter also covers salt.
- Sweep with a soft broom or a microfiber dust mop every day or two in busy areas.
- Vacuum on the bare-floor setting so the beater bar does not drag dirt across the finish.
- Clean with products made for hardwood, as shown in our step-by-step guide to cleaning hardwood floors, and skip wet or steam mops, because too much water can soften the finish.
A clean floor also makes new scratches easier to spot, so you can fix small problems before they spread.
Step 4: Protect and Maintain the Floor Finish
The finish is the layer that takes the scratching, so its condition decides how much damage you see. Polyurethane coatings and factory-applied aluminum oxide finishes are the ones most often suggested for homes with pets, and Hunker notes that a factory-applied finish usually holds up better than one put on at home. A flooring guide from Archeyes that cites the National Wood Flooring Association says to recoat about every three to five years, depending on traffic and wear.
Keep these points in mind:
- A screen and recoat can refresh a tired finish without sanding the floor down to bare wood.
- Ask your contractor to test that the new coat will stick to the old one, because poor bonding can make the repair peel.
- Do not count on hard wood alone, because the Janka test does not measure how well a finish resists scratches.
- If the lanes your dog uses look dull, the finish is asking for attention. Our free hardwood floor care kit has a seasonal calendar that helps you remember these jobs.
Step 5: Use Nail Caps or Paw Covers for Problem Dogs
Some dogs wear their nails down slowly, run hard, or dig at the floor out of habit. For these dogs, a physical barrier can help. Nail caps are soft, non-toxic vinyl covers that slip over each trimmed nail and stick on with pet-safe glue, so the nail never touches the wood.
Here is what to know before you try them:
- Caps need to be replaced as the nails grow.
- They only work if your dog accepts them, so start slowly and watch for chewing.
- Grippy dog socks or boots do a similar job indoors and help older dogs that slip.
- Neither one replaces trimming, because long nails under a cap can still hurt your dog and change how it walks.
- Think of caps as a short-term helper for risky times, such as puppyhood, rainy weeks indoors, or the days before a grooming visit.
Step 6: Manage Energy, Access and Zoomies
A calm dog scratches less. Most serious floor damage happens when dogs sprint, so daily walks and exercise that tire your dog out protect the floor as much as any product.
Try these ideas:
- Teach a reliable settle or place command so greetings at the door happen on a rug instead of at full speed on bare wood.
- Use a baby gate or dog gate to block softer or more valuable floors, such as pine, when you cannot watch your dog.
- Keep chew toys and puzzle feeders on rugs or mats, since dogs often dig and scrabble while working on them.
- Watch for habits that cause damage, like pawing at a door or window, and put a runner or mat in that exact spot.
Training plus physical barriers gives the lowest risk of damage, because each one covers what the other misses.
Prevention Methods at a Glance
What to Do When a Scratch Happens Anyway
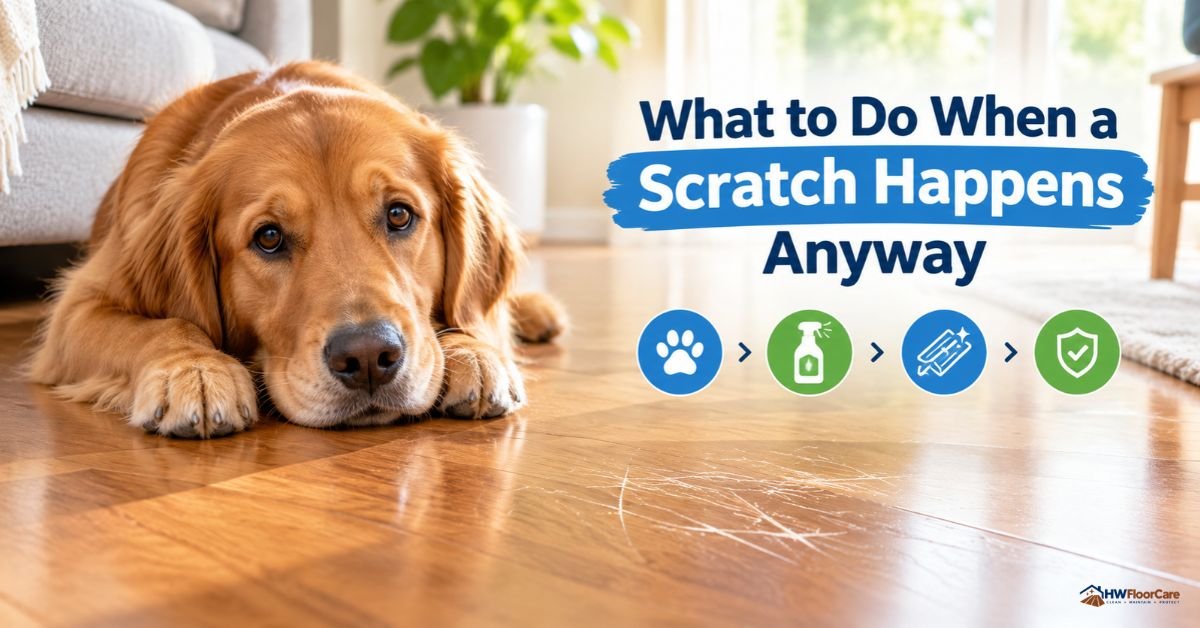
No plan is perfect, so act fast when a scratch shows up.
Follow these steps:
- Clean the area with a soft cloth and a hardwood-safe cleaner so you can see how deep the mark is.
- For light scratches that only touch the finish, try a simple touch-up product, and test it in a hidden spot first to check the color.
- For longer or deeper scratches, plan to recoat the floor.
- For serious damage, the floor may need to be sanded and refinished, which removes the old finish and the scratches together.
Fixing small marks early keeps dirt from settling into them. If you are not sure whether a scratch has reached the wood, a flooring professional can tell you quickly. If a scratch comes with other finish damage, our guide on how to remove water stains from hardwood floors can help.
Share this on social media.